
Adapted from the original recipe by Lizel Jane: http://liezljayne.com/3-ingredient-peanut-butter-cookies-gluten-free-sugar-free-dairy-free/
I absolutely love peanut butter cookies. They are always rich and satisfying, but sometimes a bit too sweet. This simple recipe is gluten free, dairy free, and refined sugar free. While coconut sugar is still sugar, it does have more nutrients than refined sugar. You can use the same amount of regular cane sugar if you don’t want to use coconut sugar.
the recipe:
Ingredients:
-1 cup unsweetened peanut butter (smooth or crunchy)
-2/3 cup pure coconut sugar (maple syrup can be used, but it will result in a softer cookie)
-1 egg
Optional Ingredients:
-1/4 tsp cinnamon
-1/4 tsp vanilla extract
-tiny pinch sea salt (don’t add salt if your PB has added salt)
the method
1. Preheat oven to 180°C/ 360°F
2. Line a baking tray with parchment paper (you don’t even need to grease your tray, there’s enough natural oils in the peanut butter – and so you should be able to lift the cookies easily).
3. Mix the egg, peanut butter, and coconut sugar together in a bowl with a fork or spatula.
4. Add the optional ingredients if you want to (cinnamon, vanilla, pinch sea salt).
5. Give the batter a quick mix with your hands.
6. Roll the batter into little balls between the palms of your hands, and place on the baking tray.
7. Spread the cookie dough balls out on the tray, so that they all have enough space between them. They don’t expand very much.
8. Gently press each cookie dough ball onto the tray with a few fingers to flatten them slightly.
9. And then optionally, you can also gently press the back of a fork onto each cookie to give it some cute little lines.
10. Bake the cookies at 180°C/ 360°F for 8-12 minutes (depending on if you prefer your cookies a little softer, or more crunchy)
- I baked my small cookies for 9 min and let them cool on the tray. After baking, remove the cookies from the oven (take note that they won’t look cooked yet, but they are – they need to cool to set).
11. Leave the cookies to cool (so that they can set properly) before lifting them from the tray.
Once cooled, store in an airtight container to keep fresh, they should last up to a week (if they aren’t all gone before that).
Lizel says: “If you measure out the batter to make 20 cookies before baking, then each cookie will only contain 100 calories”
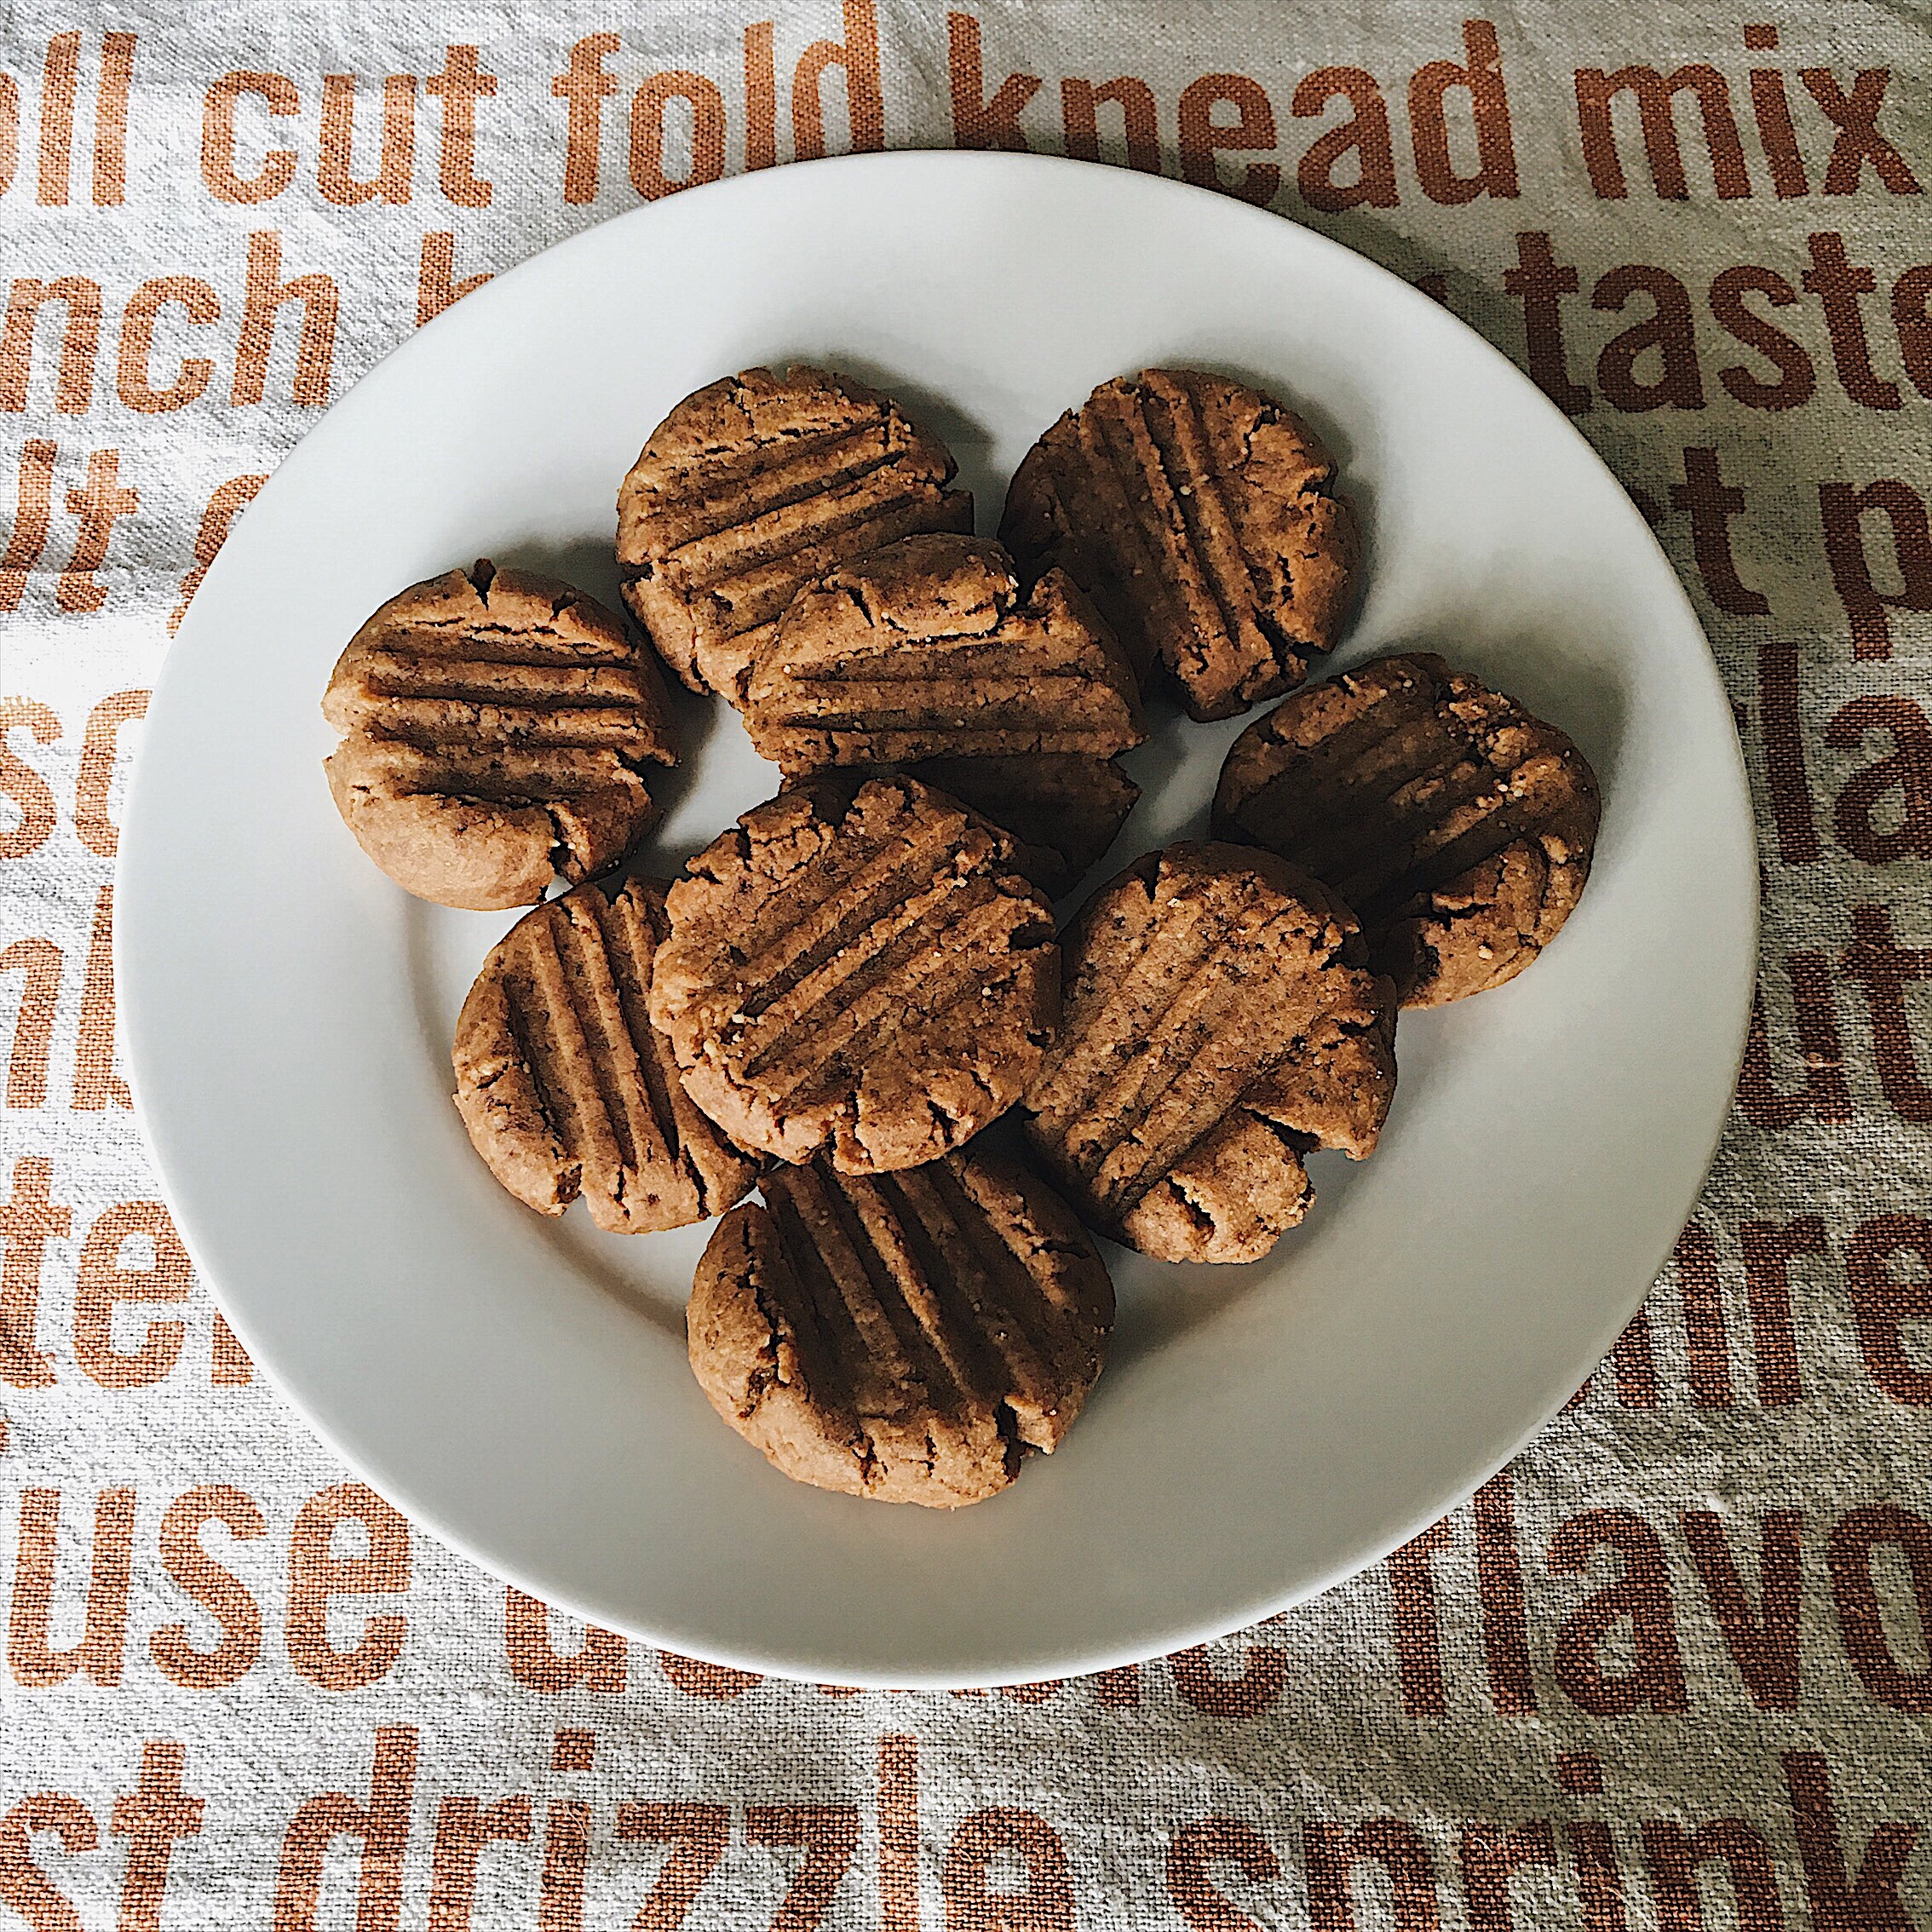
I made 26 cookies, each with a ~3cm diameter. I like to make my desserts on the smaller side. I know I will eat more than one, no matter the size, so it is better if they are smaller. Feel free to make them larger too, just increase cooking time.
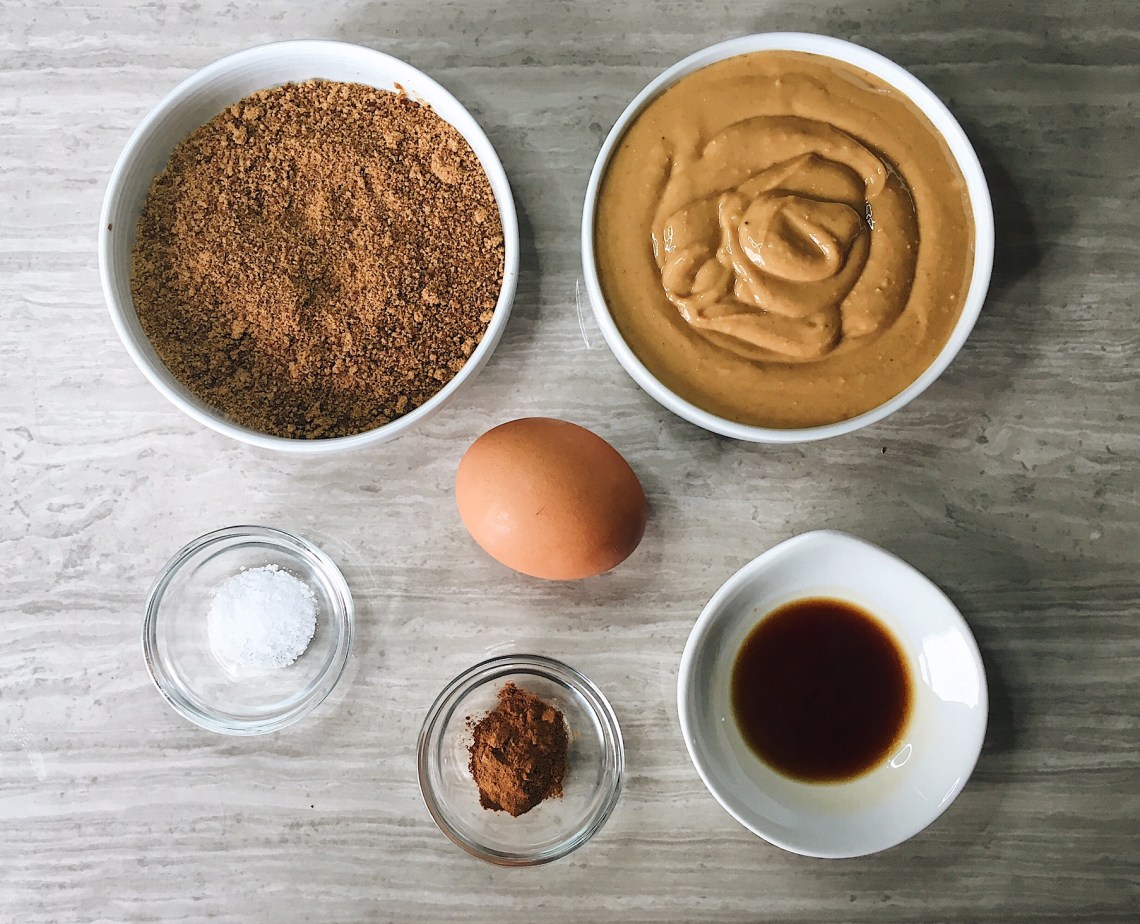
I have a tiny kitchen and mise-en-place is usually not practical. French for “put in place,” the idea is to organize all of your ingredients in the proper amounts before you cook. If I did this in reality, I would have no counter space left. True story. After I took this picture I mixed everything into a large bowl. While the chef in me says “don’t tell them to NOT pre-measure everything,” it’s really not necessary with this recipe. Just measure everything directly into a large mixing bowl. This brings me to my next point. If you’re not trying to take a pretty picture of the mixing process, use a practical mixing bowl, not a shallow serving bowl.


Before mixing with hands. I always make a large ball with the dough, and divide it into halves as many times as I need to until I have enough dough balls of the right size. (Think: 1–> halves –> quarters –> eighths –> until the balls of dough are small enough for each cookie).


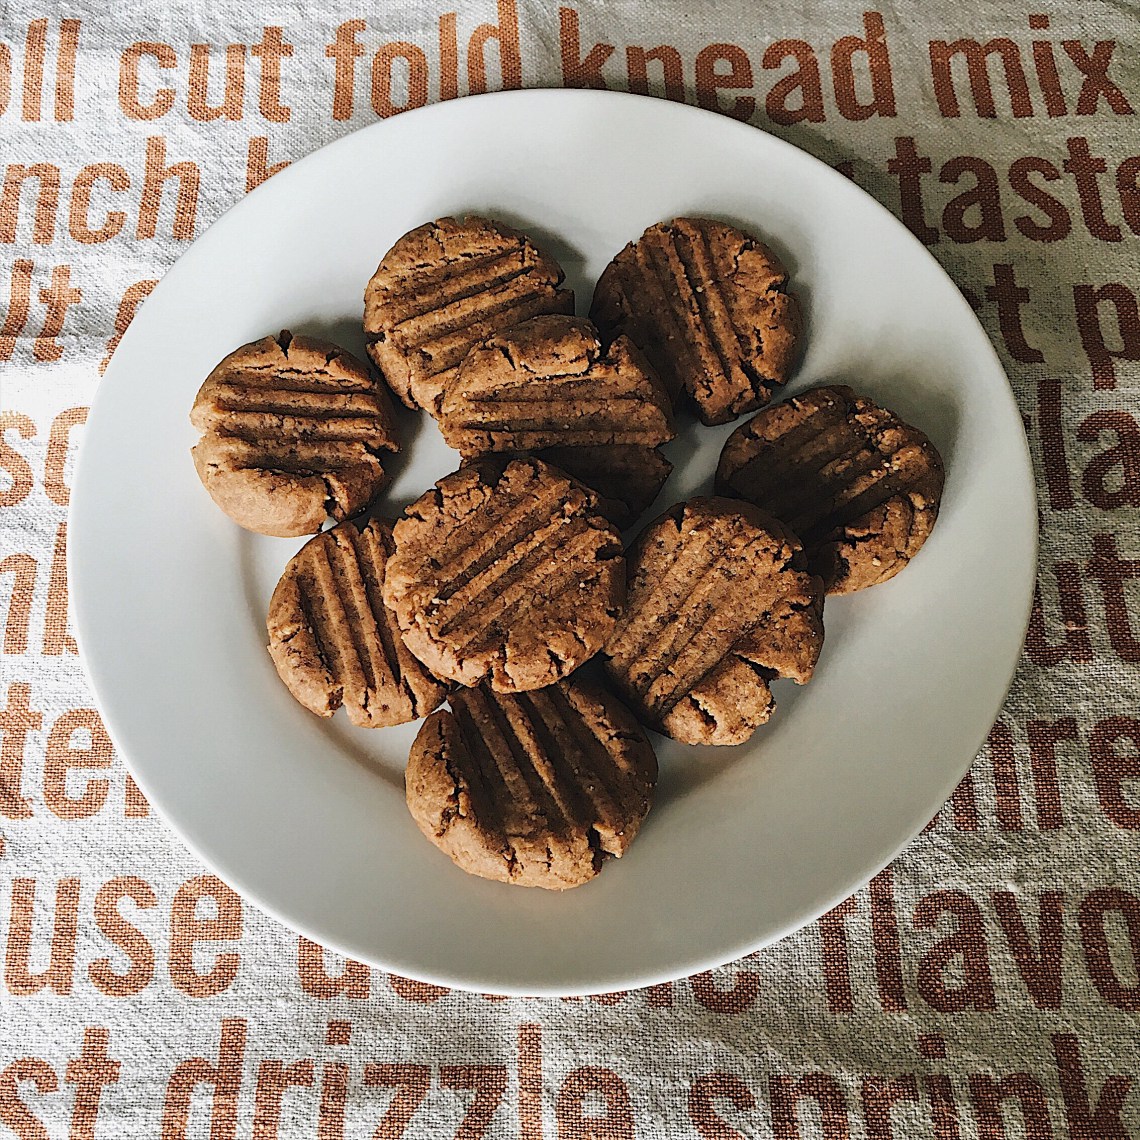
Enjoy!
